| |
|
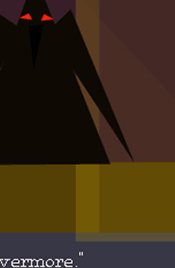
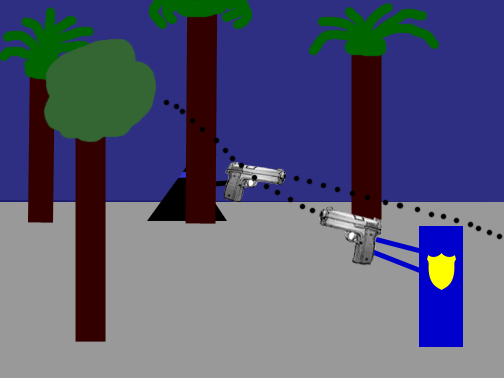
Using Photoshop, create a graphic narrative of at least 10, and not more than 25, pages which tells a story with geometrical shapes (a la Molly Bang), perhaps some photographic images to serve as visual "accents," and words.
Sample Projects:
GuidelinesThe story could be something published or something that happened to you. Take care, though, to pick an original text that tells (or can be made to tell) a story. Not all lyrics or poems do. Produce each page (visuals and text) as a separate Photoshop file, which you'll evetually want to save (most likely) as a GIF after you're done editing and revising it. The Grapic Narrative project works like a "picture book." That is, the story should be told primarily with the images. Any words you include should be supplemental. (In an "illustrated book," on the other hand, the words carry the story or argument and the pictures play just a supporting role.) Also make a cover for your book. Principles of Graphic StorytellingHere are some principles to consider in creating your graphic narrative (many of these are explained more fully on pages 42-80 of Molly Bang's Picture This).
Submission Directions for the Graphic Narrative ProjectA. Save the book cover design and the page images of your graphic narrative as the following file names into a new, empty folder called "graphicnarr_source" in your nonwww folder for this course. This folder should contain nothing besides the pages of your graphic narrative.
B. Create a "Web Photo Gallery" of these images by following the directions in our handout "Web-Based Documents (Not Sites) in Dreamweaver & Web Photo Gallery with Photoshop."
C. Post the "narrative" folder containing the Web Album to your "www" folder (www/3220/narrative) on the Web server using Dreamweaver (Note: if you practice creating and posting a Web Album and then modify your pictures, completely delete the old "narrative" folder on the server and replace it with the new one). D. Send a message with the URL of your Web Album to the discussion "Graphic Narrative URLs." If you've followed my suggestions for naming and placing files and folders, the URL should be E. Print the page images out (a black-and-white printer is fine since it saves money), making sure that each prints so that the longest side is at least 6 inches (a 4 x 6, for example). You can put more than one image on a page if you wish. Be sure your name appears on each printed sheet. You might try using Photoshop's "Contact Sheet" function (see page 388 of Weinmann and Lourekas) to create a printout of more than one image per printed sheet. Be sure the page images are big enough to read/see. F. Annotate the printout, pointing out features of your work that reflect your understanding and use of Molly Bang's principles. See the directions for doing commentaries from the syllabus. G. Turn in the annotated printout to my mailbox (420 Humanities). Resources for the Graphic Narrative project
|
||||||||||||||||||||||||||||||||||||||||||||||||||||||||||||||||||||||||||||||||||||||||||||||||||||||||||||||||||||||||||||||||
Home | Schedule | Works | Email Craig | Discussion |
|||||||||||||||||||||||||||||||||||||||||||||||||||||||||||||||||||||||||||||||||||||||||||||||||||||||||||||||||||||||||||||||||
