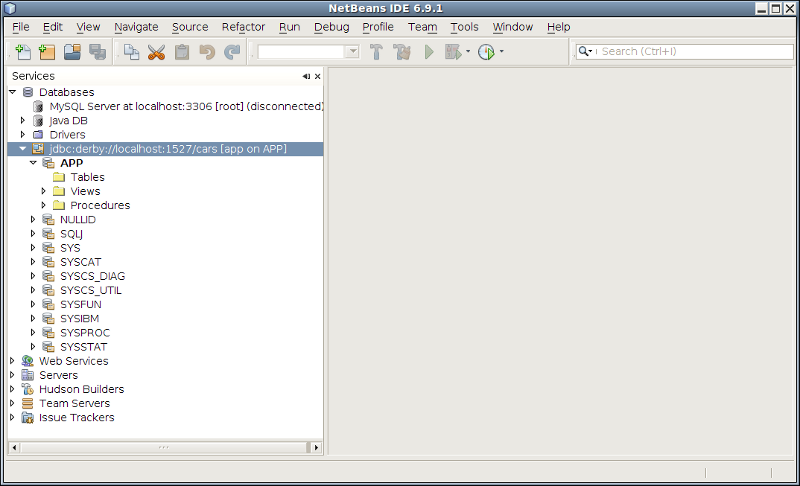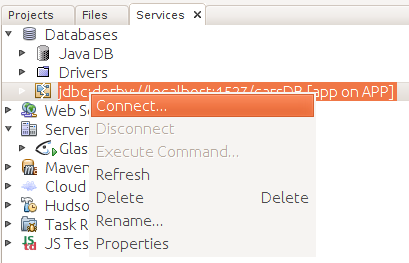
To connect to the database, right click on its node and select "Connect"
from the popup menu.
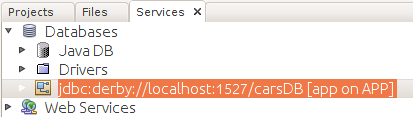
After you do this the wiggly white line disappears from the icon for the
database changes as shown below, indicating that it is connected.
Then you can expand the node to see what's there.
The "APP" subnode is where NetBeans will put database tables.
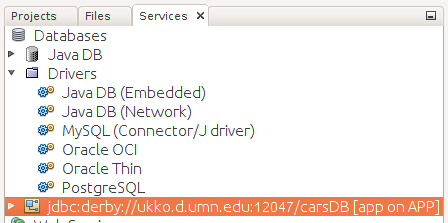
First, open the "Databases" node and then the "Drivers" subnode in the
NetBeans "Services" pane.
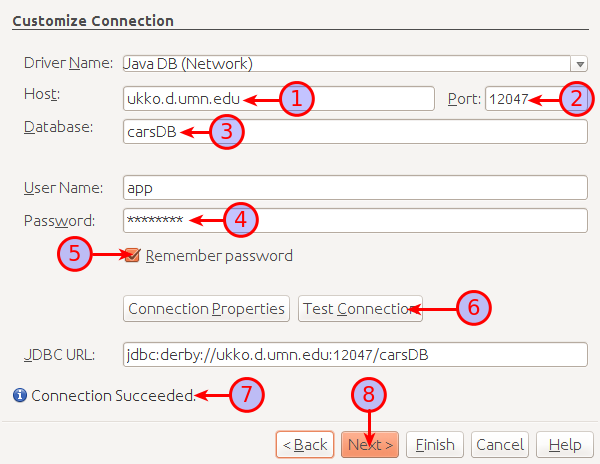
Then right-click on the "JavaDB (Embedded)" node and select
"Connect Using.." from the popup menu.
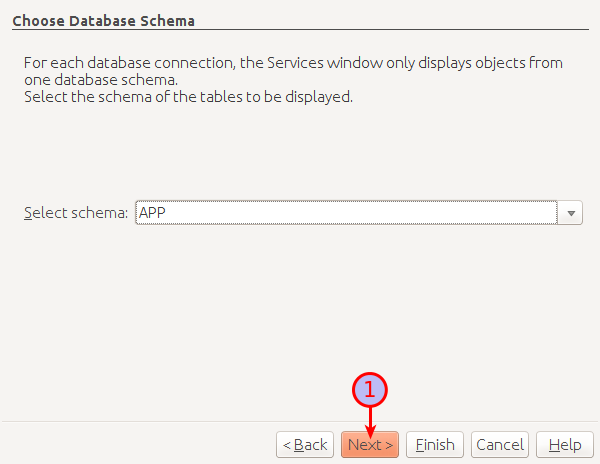
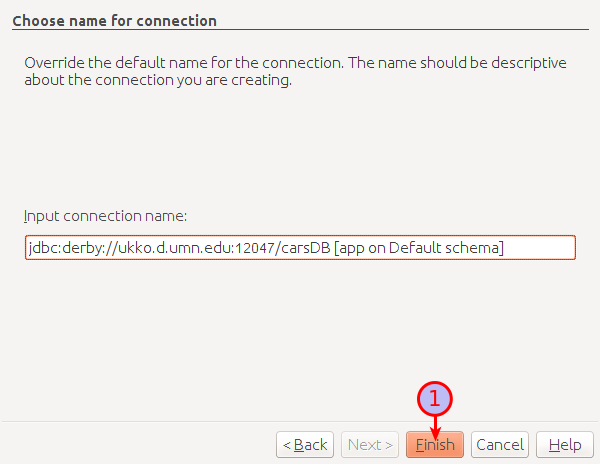
This brings up a wizard with three steps:
-
Customize Connection
-
Choose Database Schema
-
Choose Name for Connection
When you complete the wizard a new connection will appear.