In order to use a remote database while running an application directly
from NetBeans you need a connection pool with connections to the
database.
The connection pool is made available to a web application by defining
a resource.
NetBeans has a wizard that sets up most of the configuration of a
connection pool resource on its GlassFish server.
The resource can then be accessed by JSF managed beans using resource
injection to get connections.
All team members should modify their project's
sun-resources.xml file with your team's database port
number and password.
If there are already duplicate tags in the file one of them can be
removed.
Before creating the connection pool resource you need an open NetBeans
connection to the database that you are connecting to.
Start the creation of the connection pool resource by right-clicking on
the project, clicking on "New" in the popup menu, and clicking on
"Other" in the popup submenu as shown below.
This will bring up a 6 step wizard for creating the resource.
Several of the steps only require clicking on the "Next>" or "Finish"
button.
After completing the wizard you can check the resource by running the
project application.
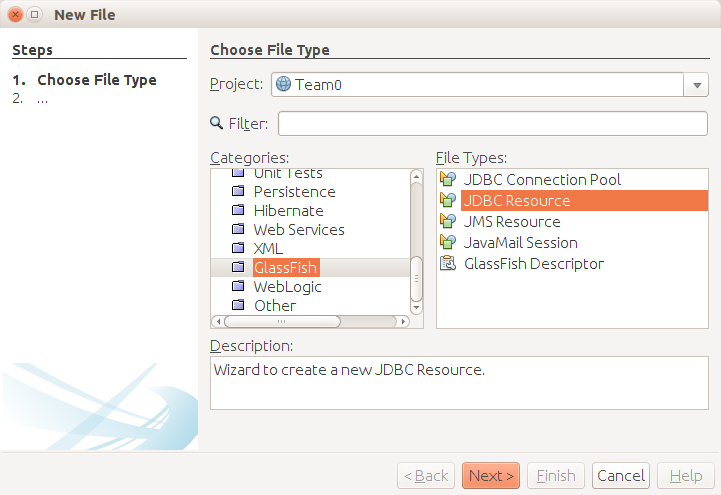
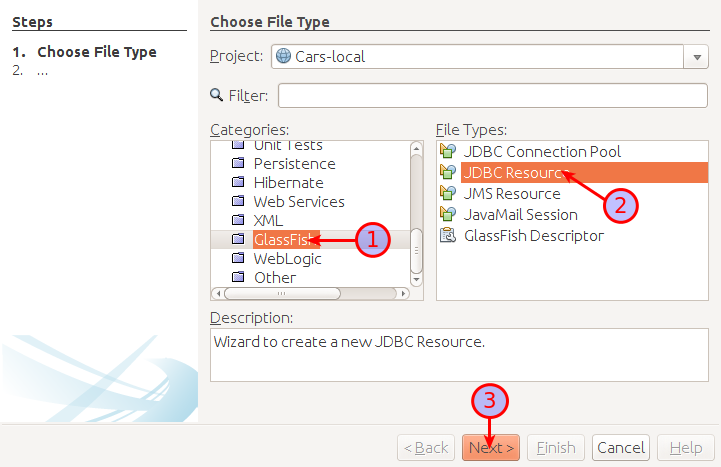
The first step is to choose a file type.
-
Select "GlassFish" in the "Categories:" pane.
-
Select "JDBC Resource" in the "File Types:" pane.
-
Click on the "Next>" button.
This brings up the "General Attributes" pane of the wizard.
This step is used to name the resource.
-
Click on the "Create New JDBC Connection Pool" radio button.
-
Enter a JNDI name for the resource in the "JNDI Name:" text field.
You should enter the name "jdbc/projectdb".
-
Click on the "Next>" button.
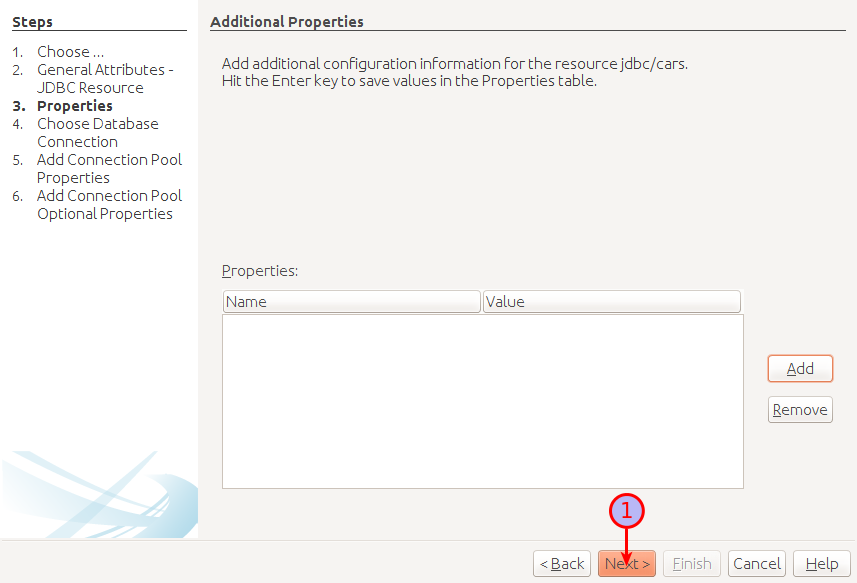
This brings up the "Additional Properties" pane of the wizard.

The defaults are sufficient for this step.
-
Click on the "Next>" button.
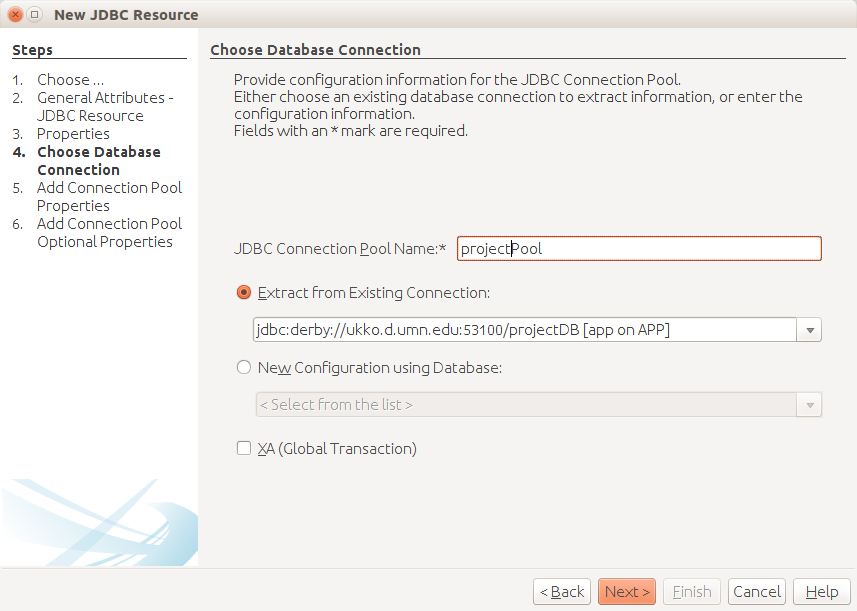
This brings up the "Choose Database Connection" pane of the wizard.
This step is used to name the connection pool and choose the database
connection that it uses.
-
Enter the connection pool name in the "JDBC Connection Pool Name:"
text field.
You should use the name "projectPool".
-
Select the connection that will be used.
-
Click on the "Next>" button.
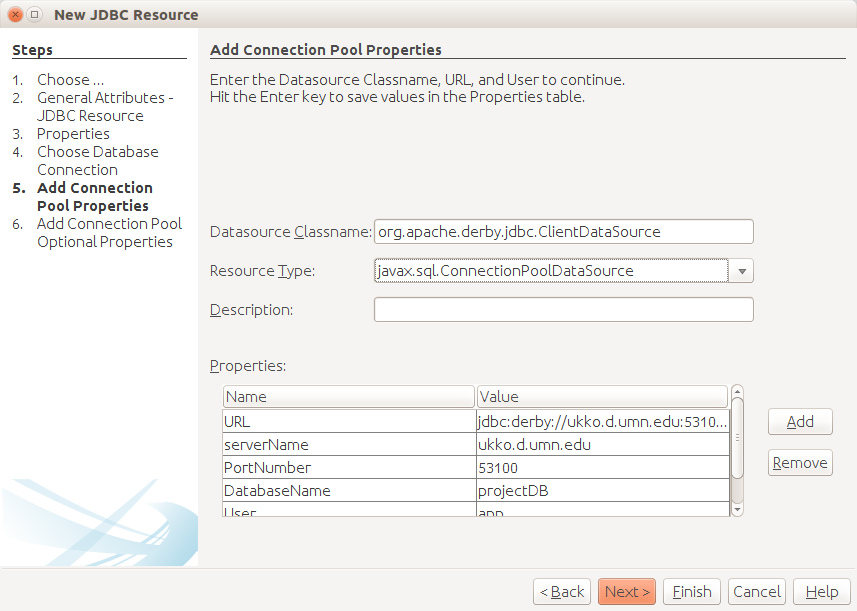
This brings up the "Add Connection Pool Properties" pane of the wizard.
The default resource type will not work.
-
Select
javax.sql.ConnectionPoolDataSource from the
"Resource Type" drop-down list as shown.
-
Click on the "Next>" button.
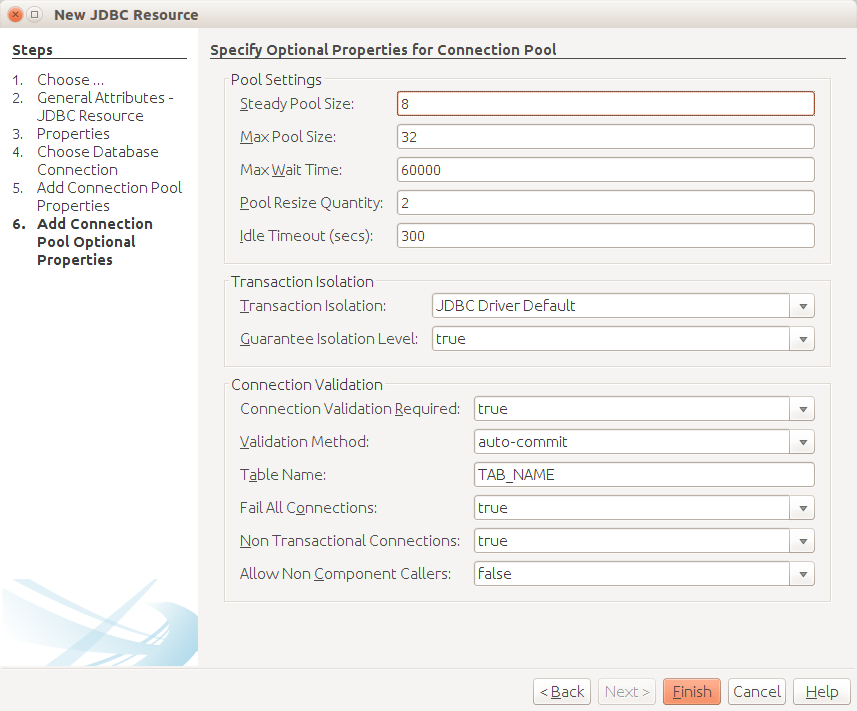
This brings up the "Specify Optional Properties" pane of the wizard.
The defaults are sufficient for this step.
-
Click on the "Finish" button.
This completes the connection pool resource setup.
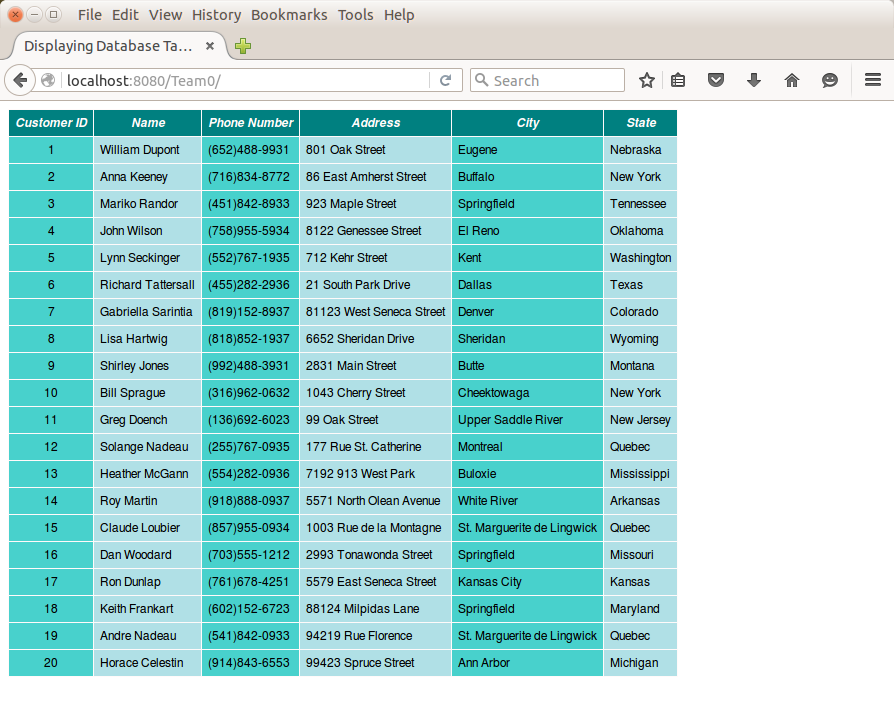
You can check the JDBC resource set up by running the project.
You should see something like the display below in your browser.