Movement
1. With a camera, take a sequence of four photos
that illustrates movement in light.
2. The object in the photo should not move.
3. Describe the change in the lighting from one photo to the next. What changed
about the light that surprises you?
4. If not in direct control of light source, note the time that has elapsed between photos.
5. Diagram the direction of the light for
each photo.
6. All entries may be on one page for easy comparison.
7. Number entries 1 through 4.
8. All entries will be stamped dated. Do not use clear plastic sleeves.
9. See example below:
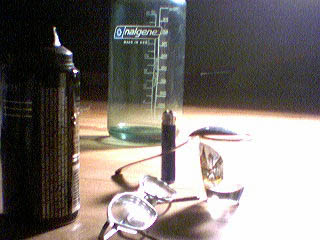
Image No. 1
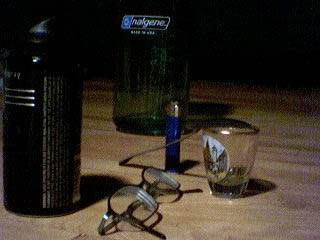
The light source begins at a steep angle from the left. Shot glass and eye glasses are equally prominent.
Diagram of direction of light
Image No. 2
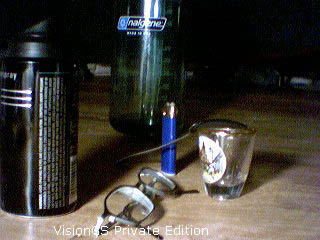
Remaining at the same horizontal angle, the light source is lowered to a flatter angle causing shadows to lengthen. Eye glasses and shot glass become more visible.
Diagram of direction of light
Image No. 3
The light source is then moved to a side light position, causing the shot glass to be more of the focus of the photo than the pair of glasses.
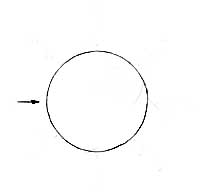
Diagram of direction of light
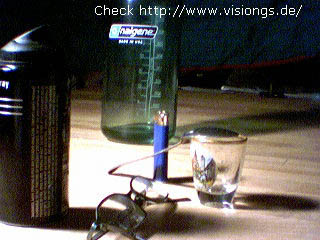
Image No. 4
The light source is moved to a right rear position, causing a sizable amount of glare off the floor. The green bottle in the rear becomes more visible than in previous photos.
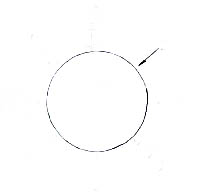
Diagram of direction of light