Creating a Web Page Using DreamWeaver
Getting Started
1. Create a folder on your desktop and label as "~yourusername"
Example:
All HTML (HyperText Markup Language) documents must be saved in this folder.
2. Click on the DreamWeaver icon ![]() to open DreamWeaver software.
to open DreamWeaver software.
3. Find the DreamWeaver toolbar at the top of the page,
![]()
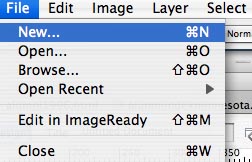
4.Click on "File", drag down to "New" and release.
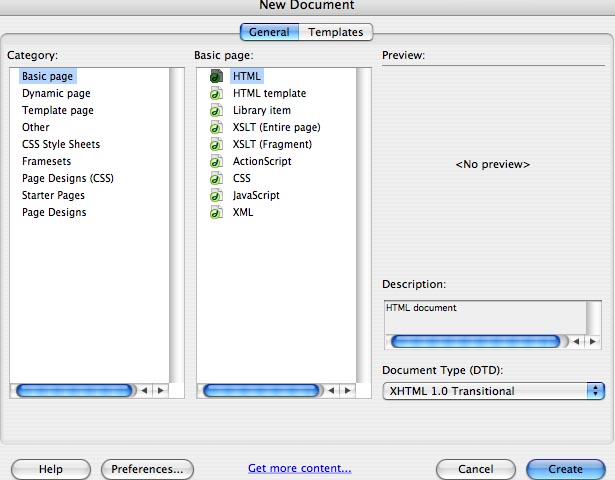
5. The following window will appear. Choose "Basic page" in the Category column, "HTML" under the Basic page column, and Click "Create"in the blue box at the bottom of the dialog box.
6. A new blank document will appear. In the Header is a box with "Title:" to the left of it. Select (highlight) "Untitled Document" and write the title of this page. Later, when someone bookmarks this page, this title is what appears on their browser.
7. Title this page "[Your Name]'s Web Site ".

8. Click in the text box and write your name as you would like it to appear on your home page.
9. Select (highlight) your name.
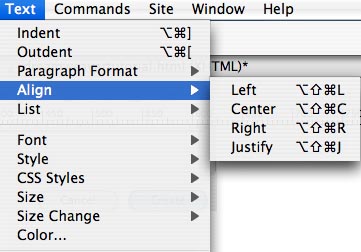
10. In the DreamWeaver tool bar, Click on "Text" and drag down to "Align", then drag over to "Center" and release.
Your highlighted name should move to the center of the page.
11. Use these same steps to change the Font of your name. Under "Style" you can find "Bold" "Italics" and "Underline" commands.
12. Click on "Text" in the toolbar and drag down to "Size Change" and increase the font size.
13. Hit "Return" on your computer keyboard to write on the next line. Notice DreamWeaver defaults to double spacing. For single spacing, hold the Shift key on your keyboard while you hit "Return".
14. Go back up to the DreamWeaver toolbar.
![]()
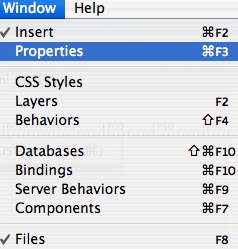
15. Click "Window", and drag down and open the "Properties" panel.
16. The Properties Panel will look like this:

17. Move the Properties Panel, by Clicking and Dragging, to the bottom of your computer screen. You'll see short cuts, including: Bold, Italics, Fonts and various Alignment short cuts are located here.
18. Select (highlight) your name and Click on the small gray box ![]() and select other possible font colors.
and select other possible font colors.
19. To save your document, Click on "File" in the DreamWeaver toolbar. Drag down to "Save As" and release. Your first page should be labeled "index.html". Eventually, when your name is Googled, this is the page that will come up on browsers.
!No capital letters, no spaces, no punctuation other than the "." between "index" and "html"!
![]()
!All documents must be save with an .html suffix!
! All documents must be saved in your ~yourname folder on your desktop!
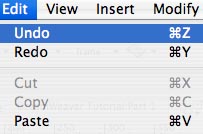
P.S. In the toolbar, Click on "Edit" and drag down to "Undo" if you want to go back to previous looks of your web page.