Creating a Web Page Using DreamWeaver
Inserting Photos
1. Even though photos are located on a web page, DreamWeaver considers them separate files.
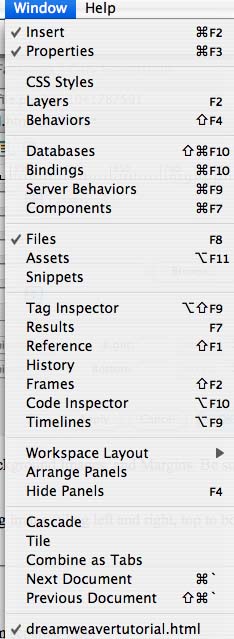
2. To view files in your ~[yourusername] folder, Click on "Window" in the DreamWeaver Toolbar, drag down to "Files", and release.
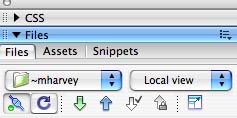
3. A palette will open looking like this:
![]()
4. Click on the Black Arrow to the left of the word Files, to see a list your files.
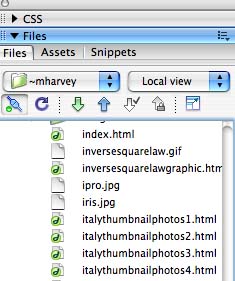
5. Be sure you're viewing your ~[yourusername] folder and "Local view".
6. The "Circle Arrow" is a command to refresh this list any time you add files to your ~[yourusername] folder.
7.Open PhotoShop application software. (This tutorial uses PhotoShop CS, Version 8.0)
8. In the PhotoShop Toolbar, Click on "File", drag down to "Open" and release.

9. Browse until you find the photo you want to save into your ~[yourusername] folder.
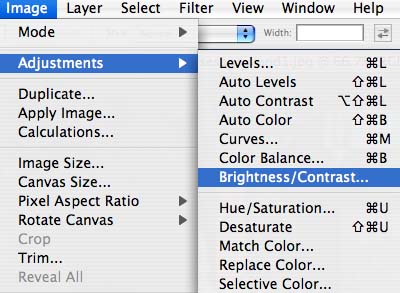
10. Once the photo is Open, go to the PhotoShop Toolbar and Click on "Image", Drag down to "Adjustments", then over and down to any of the following tools:
11. Once you've created the look of the photo you want to keep, go to the PhotoShop Toolbar, Click on "Image", drag down to "Image Size" and release.
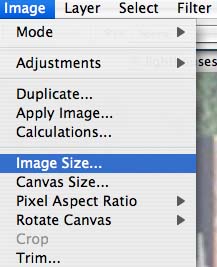
12. The following Dialog Box will open:
![]()
13. A photo takes up most of the computer screen if it's 800 pixels wide. Different browsers will space things a little differently, so you'll have to experiment.
14. After you've adjusted the Width and Height of the Image, Click OK. (If you want to adjust Width and Height independently, uncheck the "Constrain Proportions" box.)
15. The next step is to Save the image in your ~[yourusername] folder.
16. In the PhotoShop Toolbar, Click on "File" and drag down to "Save As"

17. The following dialog box will open.
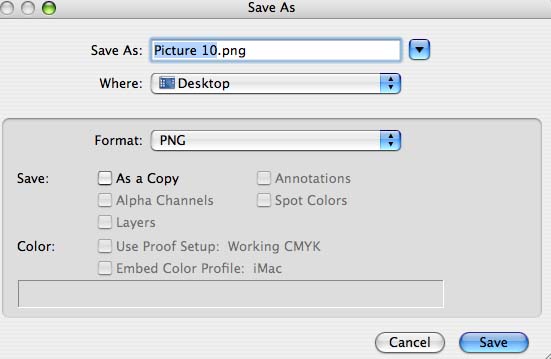
18. Type in the name of the file the way you want it saved.
19. In the "Where:" Box, choose your ~[yourusername] folder.
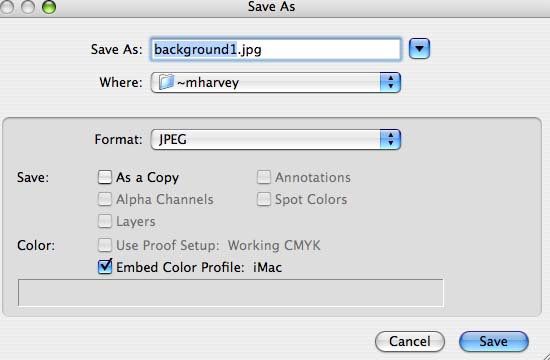
20. In the "Format:" Box, choose JPEG, and Click "Save".
21. A dialog box will open asking how large a file you want the image to be. For web pages, file sizes of 5 or 6 work well. Large files take too long to download. Small files become too pixilated.
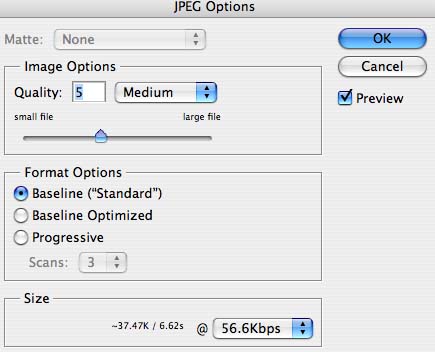
22. After you've chosen the level of quality you want, Click OK.
23. Back in DreamWeaver, Click the "Circle Arrow" in the Files palette to refresh your list of files. Your photo file should appear.
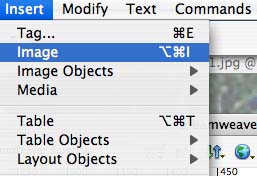
24. To Insert an image on a web page, go to the DreamWeaver Toolbar, Click on "Insert", drag down to "Image" and release.
25. Browse until you find your ~[yourusername] folder.
26. Select the image you want to Insert in your web page, and Click "Choose".
27. Image will appear on your web page.
28. Create a table of one column and two rows if you want to put a caption beneath the photo. Use one row and two columns if you want tow photos side by side.