Creating a Web Page Using DreamWeaver
Creating a Site
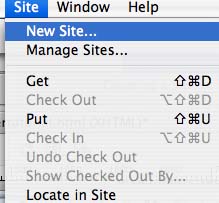
1. In the DreamWeaver Toolbar, Click on "Site", and drag down to "New Site" and release.
2. Click the "Advanced" button to get the following dialog box:
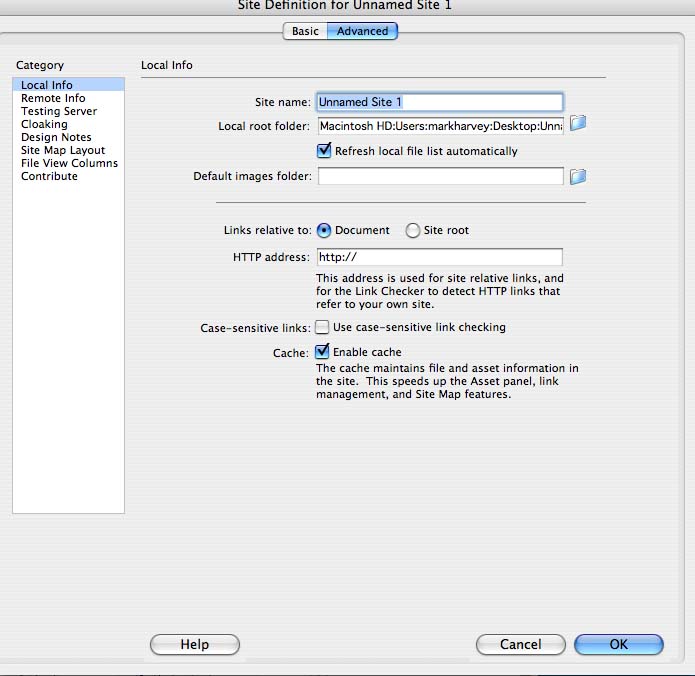
Select Local Info in the Category column on the left and fill in the following
3. Site Name: Same name as the "Local Root Folder"
4. Local Root Folder: Browse (click on the folder icon to the right of the text field) to your Desktop and pick the "~yourusername" folder you created at the beginning of this tutorial (e.g. ~mharvey).
5. Click "OK"
Select Remote Info in the Category column and fill in the following information:
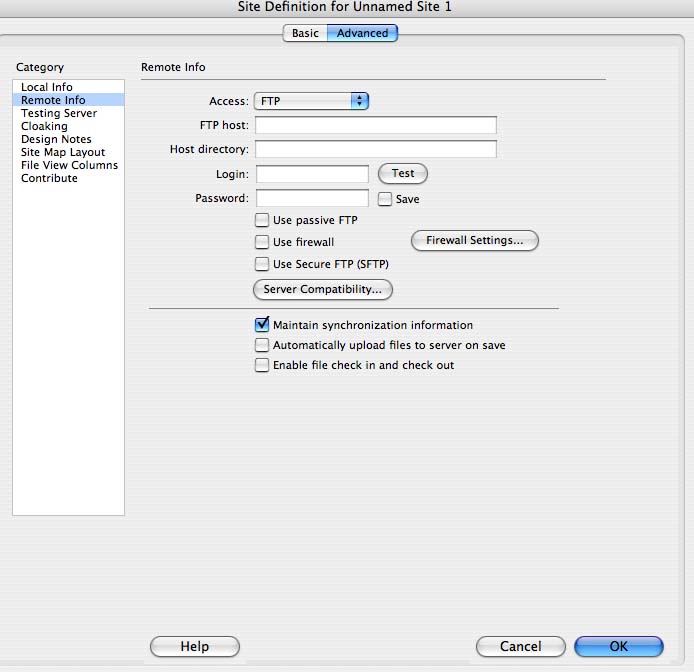
6. Access: (default says "none") FTP
7. FTP Host: www.d.umn.edu
3. Host Directory: www/
8. Login: your Internet (email) id (e.g., mharvey)
9. Leave the "Password:" field blank (you will be prompted when uploading)
10. Check "Use Secure FTP (SFTP)"
11. Click "OK"
12. Click "Done"
9. Reopen your web page.
![]()
13. Click on the Two Arrows in the Command bar at the top of the page and the following dialog box will open.
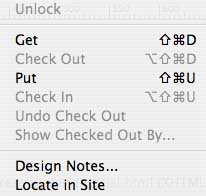
14. Select "Put" and your document will load onto the Server.